Showing posts with label favorites. Show all posts

Wednesday, March 13, 2013

Sprinkle-filled Chocolate Chip Cookies


I have posted a chocolate chip cookie recipe every now and then. I've been partial to Sharyn's and love making the BIG cookie, too. Yet, with all the recipes I have in my file and the ones that I love and swear by... I'm always game to try another recipe.

When I was pinning all my ideas to my secret board for Sophia's birthday party, I found the Cake Batter Chocolate Chip Cookie recipe at Sally's Baking Addiction. She's my hero. Sally painstakingly went through trial and error 7x over to come up with the secrets behind this cookie. And if that wasn't enough, she added sprinkles.

Sprinkles get me EVERY. TIME.

They're just the happiest little bursts of color that make anything better: pancakes, yogurt, cookies, popcorn. Hot dogs. no, not hot dogs. I promise I've never eaten a sprinkle ridden hot dog.

Off track.

Okay, so give these a go and the next time I talk about cookies, I would be remiss if I didn't post and talk about "Happy's" Ultimates. They're really good, too. She should post them on her new blog.... (wink wink)

Cake Batter Chocolate Chip Cookies

adapted from Sally's Baking Addiction

1 1/4 c all purpose flour
1 1/4 c yellow or white boxed cake mix
1/2 tsp baking soda
dash of salt- my addition
3/4 c (1 1/2 sticks) unsalted butter, softened to room temp
1/2 c sugar
1/2 c light brown sugar
1 egg, room temp
1 1/2 tsp vanilla
1 c chocolate chips (can use semi-sweet and white together)
1/2 c sprinkles- whatever colors you love

1. In a large bowl, combine all the dry ingredients. Stir with a whisk (or sift) to incorporate well and break up any lumps from the cake mix.

2. Cream together the butter and sugars on medium speed of an electric mixer. Add in the egg and vanilla and mix until creamy

3. Add the dry to the wet ingredients and mix until combined. Fold in the chips and sprinkles. Don't over mix.

 {this is where I taste the dough. it's raw and all that and I don't care. I love it}


4. Form into cone like balls (rocket ships maybe). Sally swears by this method and you can head to the recipe link above to see a more detailed step on this, but really, it's worth making them cone-like. I form them into these shapes THEN refrigerate for 1 hour.... or more. Refrigerating helps the cookies to not spread so much.

5. Preheat the oven to 350°. Place cold dough onto your baking sheet. Bake 10-12 minutes until edges are slightly browned. The center will still look soft, but as they cool, it will set. Allow them to sit on the baking sheet for 4 minutes then transfer to a wire rack or set on a brown paper bag to cool. (see image below)

These can certainly be frozen and I do love a frozen chocolate chip cookie.

Thank God I still have some in the freezer because I can barely make it through typing this without going to nab one of them!


Wednesday, February 27, 2013

Party Food: Spinach Balls


After all that talk the other day about parties and my Aunt Lynn's recipes, I thought it might behoove me to add her spinach ball recipe here.

I have the little newspaper clipping that she used with her notes scribbled on the top of when she first made these.... 1990 to be exact. They're very good and flavorful, I did tweak the recipe just a tiny bit as I had a spinach ball recipe, too, and enjoyed mine. So I married the two together. But to be fair, it's mostly her recipe that I use.

I mentioned before that while these are a great appetizer for parties big or small, they also make a great side dish! Kids love eating finger foods and this does have spinach in it! Give it a try... you make a big batch and keep them in the freezer and whenever you need a side dish to go with those nuggets, throw these in the oven with them!

Spinach Balls
sent into a local Pgh. paper back in the early 90's

2 boxes frozen spinach, well drained (the recipe says to cook it, why? I've never cooked the spinach and they turn out great)
2 cups Pepperidge Farm herb seasoned stuffing mix- might need to break up the larger pieces
4-5 eggs, beaten
4 green onions, chopped - I used white parts and green parts
1/2 cup butter, melted - this I changed from margarine
1/2- 3/4 cup grated parmesan cheese
1 tsp garlic powder
1/2 tsp thyme
1 tsp black pepper
1 tsp dried parsley (or 1/2 cup chopped fresh parsley)

Combine all the ingredients, mix well and form into small balls- about 1" in diameter (think one bite).
Place on a cookie sheet and flash freeze, then place in plastic bags in the freezer until needed.
Bake frozen in a preheated 375° for 12-15 minutes- you want them a little browned, but not burnt. I usually use parchment or a silpat as it's quick cleanup when you're having a party! You certainly don't want to washing dishes the whole time, right?

ENJOY!

Sunday, December 9, 2012

The Pizza Dough that Changed My Life ~ 12.9.12


Homemade pizza. Why bother? There are oodles and oodles of great pizza places (and not so great for that matter) around this great city of ours and ordering from one of them is oh so easy- dial, pay, deliver, done.

There is the occasional Sir Pizza trip. And the once in awhile DiCarlo's (only Elm Grove will do).
I'm also game for Anthony's delicious pies. And Fiori's is just iconic and infamous and sooooo good with the steak sauce, but I digress.

Those are all awesome and delicious, but not what I can do on a weekly basis feeding my family of 7!

 I just always wanted to be able to make my own.

And then one day, I tuned into my favorite cooking show that I've mentioned more times than most of you care to hear about, Mad Hungry*, and my life was forever changed. 

Lucinda made this foccacia-like pizza dough and I was completely ON BOARD.


Now, I've not had too much luck with yeast and most of my friends mentioned using a bread machine. I tried that method on our ancient bread machine only to have it fail, epically.

But I was determined to figure this process out and wanted my own pizza something FIERCE!

Friends, let me just say that we RARELY order pizza out anymore. FOR REALS.

We were having friends over for dinner last night and we decided to do pizza, salad, dessert. Mr. Crafty was wondering where we were planning on ordering the pizza from for dinner. I told him we weren't ordering I was making it. Knowing that Saturdays are a bit hectic around here he was surprised I was going to take that mission on... there would be 4 adults and 10 children between us!

I was firm on my stance. I was making the pizza. He still checked in at 3 to see if I was unwavering in my decision or if I'd like to hit the easy button. I assured him I was hitting the easy button by making this myself. 

So, onto the recipe! I use my kitchen aid stand mixer, but you could work this by hand as well. Also, the original recipe says to let rise overnight in the fridge and I used to do that until one day I forgot and let it rise on the counter and guess what, it was still awesome. So now, I usually just make it the day of.

Lucinda's Deep Dish Pizza Dough 
(but it doesn't have to be deep dish.... see end of recipe for how I make this every week)

1 1/3 cup warm water
1 tsp sugar
2 1/4 tsp yeast (I use rapid rise and buy a jar b/c I use it so often)
3 cup flour + 1 Tbs - I use bread flour, but all purpose works, too
1/4 cup yellow cornmeal
1 tsp salt
1/4 cup olive oil plus more for bowl


1. In the bowl of your mixer, combine water, sugar and yeast. Stir and let sit 3-4 minutes, until bubbles form (it will look foamy)

2. In a separate bowl, combine flour, salt and cornmeal. Stir to combine.

3. Add flour to yeast mixture and turn mixer on low, slowly stream in the 1/4 cup olive oil. When mixture forms a clump, turn dough out on a lightly floured surface.

4. Knead 5-6 times until dough is smooth. Place in a oil covered bowl and refrigerate overnight. OR let rise on the counter. Use when dough is doubled in size- takes about an hour.

5. To make the pizza. Oil a large baking sheet and press dough out into the pan. If the dough tears, let it rest a minute or two. Use a fork to prick the dough all over and cover with a towel to let rest, 20 minutes. 


6. Add toppings: for foccacia, brush dough with olive oil and add roasted tomatoes and buffalo mozzarella or parmesan cheese. see here for original recipe. Bake in a preheated oven, 450 degrees, 15-18 minutes.

Here's how I make this every week:

1. After dough has risen, I dump it onto a sheet of parchment paper and preheat my oven to 450 degrees. I divide the dough into 2 pieces and the place the other piece on another sheet of parchment paper. (the parchment helps me transfer the dough to my pizza stone in the oven)

2. Using a rolling pin, roll the dough out to your desired shape: round, rectangular, you decide!

3. Add sauce, cheese and toppings. 

4. Slide an upside down baking sheet under the parchment and transfer your pizza to the HOT oven. If you don't have a stone, you could just bake the pizza on a baking sheet instead.


5. Cook about 15 minutes. Check the middle of the dough for doneness. We take ours out of the oven, on the stone, and let it crisp up for a few more minutes. It stays hot while we eat and makes the second, third, fourth piece stay nice and hot!

 this is one of my favorite toppings - found in the freezer section at TJ's


original recipe source: here

So which method do I prefer? We like the new one made on the parchment and pizza stone... let me know if you have any questions!

Tuesday, March 13, 2012

A Banana bread a day.... ~ 3.13.12


Please tell me I am not the only one who has a freezer full of over ripe bananas? At one point it was bordering on at least a dozen, maybe a dozen and a half!

I just can't seem to throw out those bananas and with a recipe as good as this (and as easy as this) one is.... why should I throw them away?

Thanks to Sycamore Stirrings for sharing this recipe for Banana bread made in the food processor- it has become my go-to recipe for it's ease in prep and simplicity of ingredients. The kids LOVE helping me make this recipe and of course, love eating the homemade banana bread.


Banana Bread

adapted from Sycamore Stirrings

Preheat oven to 350 degrees
Grease a 9x5 loaf pan

To the food processor bowl add:
2 very ripe bananas- medium sized
1/2 cup butter, cut into pieces, chilled

pulse about 20 seconds until butter and bananas are chopped and combined

Next add:
1 1/2 cup flour
3/4 cup sugar
2 eggs
1/4 cup buttermilk
1 tsp baking soda
1/2 tsp salt
a dash or 2 of ground cinnamon

pulse 10 seconds- just until incorporated

Optional- add in 1/2 cup walnut pieces or 1/2 cup mini chocolate chips

Pulse 2-3 times.
Turn batter out into the prepared pan.
Bake for 55-60 minutes or until cooked throughout and a toothpick comes out clean.
Cool completely before serving.

(click on the recipe name to print out without pictures in Google docs!)

Sunday, December 18, 2011

Mary's Baked Fruit ~ 12.18.11


Mary's Baked Fruit is one of my favorite recipes from home. We have this at many a holiday celebration and it always makes me think of Christmas (well, and Easter, too). It contains a very unique ingredient that doesn't quite taste the way you expect it to taste: curry! Whenever I tell someone it's in there the response is quite often, "I don't really like curry and stay away from anything with it in it!" And then they try this recipe and are sold.

In our family, the peaches and pineapples are the first to go. Poor pears! So, we usually increase the amounts of those in the recipe. I've even increased the fruit in this recipes WITHOUT increasing the "sauce" ingredients.

I will give you one caveat before you proceed, the sauce in this stains. It's ruined a few shirts, but again, it's well worth it and I just give lots of warnings about that fact. My kids LOVE this recipe and it will be around for many years to come. I'm including some photos of my fruit draining process. My mom always used paper towels, but I was trying to be a bit more "green" ;)


Mary's Baked Fruit


Best made the day before or several... the flavors marry together and it gets better!
Increase/decrease fruit amts. per preference

1 lg can cling peach halves (the pics show slices as that was what I had on hand at the time)
1 lg can pineapple slices
1 lg can pear halves
1/3 cup butter
3/4 cup light brown sugar
2-4 tsp. curry powder (we use 2)


1. Drain fruit and dry on paper towels- or use towels (see photos above). Absorb as much moisture as possible.
2. Arrange fruit in casserole dish.
3. Melt butter, then add brown sugar and curry. Spoon over the fruit.
4. Bake 1 hour in 325-350 degree oven.

Serves 4-6--- of course you can double/ triple the recipe! you can also freeze the leftovers.

Sunday, October 23, 2011

Spaghetti Pie ~10.23.11

I did a quick search on this blog the other day and was flabbergasted that I have never shared the following recipe with you here! Shame!
I make this a lot. It's hearty and creamy and delcious. My husband likes it, a lot. And depending on the day of the week, most of the kids like it, too. ;)

I find that you can use a bit more tomato sauce and usually make a little extra to have on the side. I also use light sour cream. Always have in this recipe. Don't usually use whole wheat pasta, but I bet that would be better for us, now wouldn't it?

And once upon a time I actually took pics of this at certain steps, but forgot the best part... the finished product! Guess I'll have to make it again soon and take a photo!
 

Spaghetti Pie
(Adapted from Cooking Light)

1 pound ground sirloin
1/4 teaspoon salt
1/4 teaspoon black pepper
1/2 teaspoon dried basil
1/4 teaspoon of garlic powder
1 -15 ounce can tomato sauce
1 1/2 cups sour cream
1/2 cups chopped green onions
2 ounces cream cheese, softened
4 cups cooked whole wheat spaghetti
4 ounces sharp cheddar cheese
2 ounces fresh grated parmesan cheese

Preheat oven to 350

In large skillet over medium heat, cook sirloin until browned, stirring to crumble. Drain and return to pan. Stir in seasonings and tomato sauce. Bring to a boil, reduce heat and simmer for about 20 minutes.

In a medium bowl, combine sour cream, onions, and cream cheese.

Place spaghetti in a 2 1/2 quart casserole dish coated with cooking spray.

Spoon sour cream mixture over spaghetti and spread evenly. Place the ground sirlion mixture on top. Sprinkle with cheeses and bake, covered, for 25 minutes.

 here it is sans cheese- I wish I had a pic of it in all its creamy glory on my plate!

Uncover and bake 5 minutes or until cheese is bubbly. Let sit for about 10 minutes before serving.

** You can certainly freeze this for a new mom or yourself! Just wrap tightly with foil and date and put it in the freezer before you bake it!

Saturday, June 5, 2010

Last Summer's faves ~6.5.10

a few recipes that are worth revisiting and trying this month!

1. Creamy Latin Pasta Salad - hoping to make this soon for picnics! delish and different from your typical pasta salad


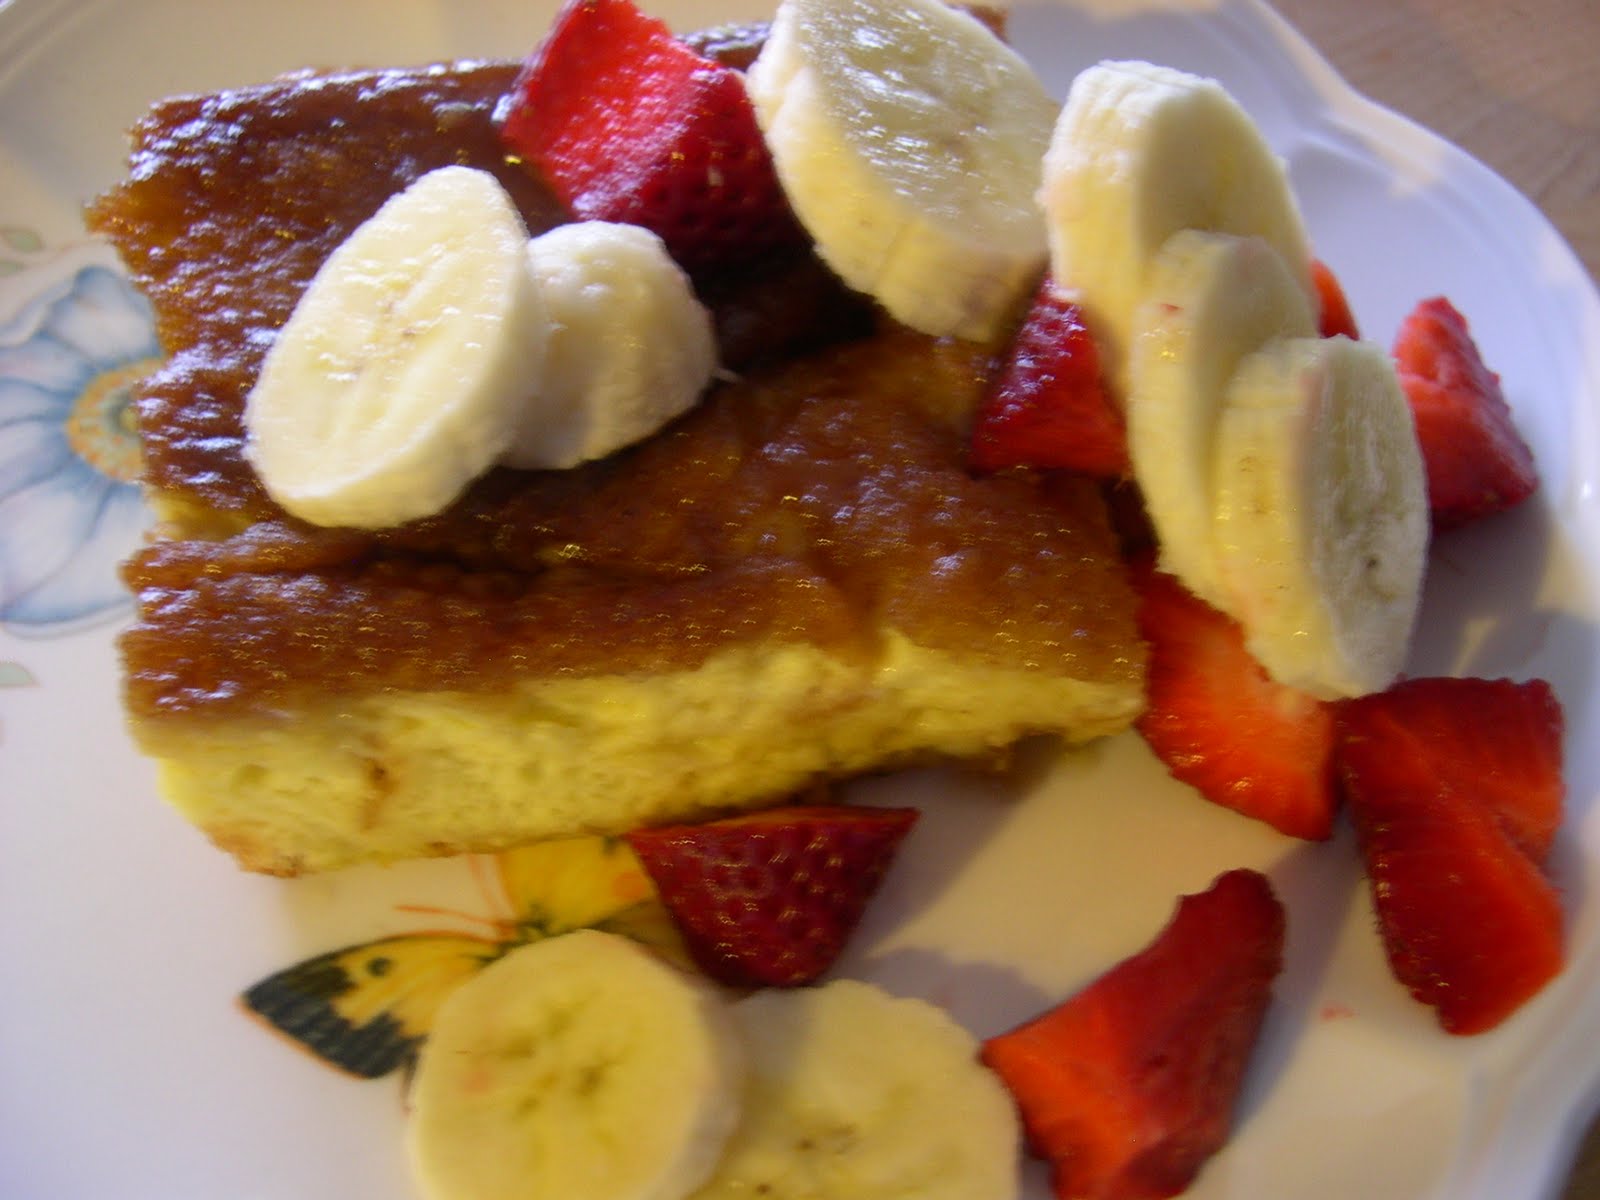
2. Baked French Toast - throw it together before church on Sunday and then bake for brunch!


3. Cool and Crisp Cucumber Salad- a summer side staple!

Sunday, May 9, 2010

The Essential Summertime (Anytime) Salsa ~ 5.9.10

Time to depart from all the desserts and make something fresh and delicious.


I originally posted this recipe way back in 2006 on She's a Crafty Pumpkin. It has become my "go-to" recipe for family gatherings- it's a cinch to make and EVERYONE seems to love it! The original recipe hails from here and I'm forever indebted to her for posting that- hope you're as happy with it, too!

If you don't have cilantro, but say, have basil- try that instead. I did that once and was not at all disappointed! WOW! Flavor punch and a party in my mouth! You'll see in the ingredients that I often will leave out certain "unessential" ingredients- feel free to try that for yourself. A recipe is only a guideline, you decide what goes in or doesn't- make it yours!

I love to serve this with Target's Archer Farms Organic Blue Corn Tortilla Chips- say that five times fast!


Black Bean Salsa


2 cans black beans, rinsed and drained
2 ears corn, either boiled or roasted (I use frozen, too- toast it in a dry pan on the stovetop)
2 large or 3 medium tomatoes, cut into small chunks and drained- Romas are great
2 firm-ripe avocados, cut into medium chunks
1 red onion, diced small - I often leave this out
3 garlic cloves, minced - I've left this out before, too
2-3 limes
1 bunch of cilantro
Olive oil
Red wine vinegar
Salt and pepper


Place the black beans into a large serving bowl. After the corn has cooled, cut the kernels off the cob and add to the black beans, along with the tomatoes, red onion, and garlic. Toss to combine.

Drizzle the mixture with olive oil and about 2 tablespoons of red wine vinegar, or to taste. Squeeze the limes over the mixture, and season with salt and pepper. Let the mixture sit for about fifteen minutes before tasting for seasonings again.

You can wait until just before serving to add the avocado chunks and chopped cilantro, but we add it all at once - after awhile the avocado will start to break down, but it usually last a full day or two before that happens.

Wednesday, February 17, 2010

Welcome Lent ~ Homemade Macaroni and Cheese ~ 2.17.10

Another family favorite!

Today being Ash Wednesday, we are abstaining from meat. I think most of us who remember the lents of our childhood will recall that there was certainly a lot of Macaroni and Cheese, Pizza and Fish Sticks consumed. We try to mix it up a bit over at the Costain house with our Sweet Potato Burritos, pasta dishes and few other faves but macaroni and cheese will always find its way on our lenten menu.

While I do like the convenience of a boxed mac 'n cheese for those emergency situations (by the way, we prefer Annie's), there's just nothing like homemade.

Tonight I did a hybrid of Pioneer Woman's mac 'n cheese (from her new cookbook) and my old faithful America's Test Kitchen recipe (which follows). I think I'll stick to old faithful though. While her sauce sure was cheesy deliciousness, I like the fact that I don't need to whisk too much and I can just throw it all in the pot and voila... mac 'n cheese. I still used evaporated milk even though her recipe calles for whole milk and I added a little onion powder to the pot as well.

This recipe is quick and convenient and worth the few extra minutes it takes to make. I serve mine up with peas- gosh I love the little burst of green sweetness with each cheesy pasta bite. I hope you enjoy this, too.


Stovetop Macaroni and Cheese

A heavy-bottomed pot that distributes heat evenly is essential here. If you're in a hurry or prefer to sprinkle the dish with crumbled common crackers (saltines aren't bad either), you can skip the bread crumbs.

Serves four as a main course or six to eight as a side dish

Toasted Bread Crumbs

1 cup fresh bread crumbs from French or Italian bread
Pinch of salt
1-1/2 tablespoons melted unsalted butter

Creamy Macaroni and Cheese

2 large eggs
1 (12-ounce) can evaporated milk
1/4 teaspoon hot red pepper sauce
2 teaspoons salt
1/4 teaspoon ground black pepper
1 teaspoon dry mustard, dissolved in 1 teaspoon water
1/2 pound elbow macaroni (I always use a pound- way too cheesy for me)
4 tablespoons unsalted butter
12 ounces sharp Wisconsin cheddar, American, or Monterey
Jack cheese, grated (about 3 cups) ( I like a combo- depends on what I have on hands, too)

1. Adjust oven rack to middle position and heat oven to 350 degrees. Mix bread crumb ingredients (crumbs, salt, and melted butter) well in small baking pan. Bake until golden brown and crisp, 15 to 20 minutes; set aside.

2. Meanwhile, mix eggs, 1 cup evaporated milk, pepper sauce, 1/2 teaspoon of the salt, pepper, and mustard mixture in small bowl; set aside.

3. Meanwhile, heat 2 quarts water to boil in large heavy-bottomed saucepan or Dutch oven. Add remaining 1-1/2 teaspoons salt and macaroni; cook until almost tender but still a little firm to the bite. Drain and return to pan over low heat. Add butter; toss to melt.

4. Pour egg mixture over buttered macaroni along with three-quarters of the cheese; stir until thoroughly combined and cheese starts to melt. Gradually add remaining evaporated milk and cheese, stirring constantly, until mixture is hot and creamy,


Monday, October 12, 2009

Review: Walking Tacos ~ 10.12.09

Today's meal is brought to you by Corona and Doritos.

Kidding. But they go great together and are somehow involved in this meal I'm about to share.
I was reminded it of it last weekend while I was at Applefest up in Franklin, Pa. Tons and tons of food vendors and I saw a sign for walking tacos! You're going to love this recipe. I discovered it over at Mennonite Girls can Cook and/or Bless Us O Lord- maybe both.


A walking taco (they're a.k.a. campfire tacos) is: all your essential taco ingredients contained in a very convenient little bag of doritos! Brilliant!

I love them that way b/c :
a) my kids can eat them without tears (they get SOOOO very frustrated when their taco shell breaks and all the stuff pours out of them) and
b) they're so darn fun!

You can make whatever taco meat recipe your little heart pleases, I prefer the America's Test Kitchen one which I'll post down below. You get all your taco ingredients together in little bowls and you buy a bunch of little bags of doritos (Target has them and Walmart, too)- you can buy JUST snack size doritos, as I discovered when I went to make these the first time around.

Here we have taco meat, shredded lettuce, taco sauce, tomatoes, avocados, monterey jack cheese and queso.

Open up your dorito bag and fold the top over just a little. Scoop in your taco fillings, mix it up and bit and eat it with a fork or spoon. Grown ups, add corona with lime. YUM!

If you have leftovers, you can scoop all the ingredients onto broken up pieces of taco shells or tortilla chips.... fun and yummy snack! Little open-faced tacos. Taco bruschetta. Whatever, it's good.

My favorite taco meat recipe:
Beef Tacos - serves 4; (can double, but you'll want to cook the meat in batches)
2 tsp veg oil
1 small onion, chopped small
3 medium garlic cloves, minced or pressed
2 Tbs chili powder
1 tsp gr cumin
1 tsp gr coriander (I don't have this)
1/2 tsp dried oregano
1/4 tsp cayenne pepper
salt
1 pound 90% lean ground beef
1/2 cup tomato sauce
1/2 cup low-sodium chicken broth
1 tsp brown sugar
2 tsps vinegar, preferrably cider vinegar
black pepper
  • Heat oil to medium and saute onion until softened, about 4 minutes.
  • Add the garlic and spices and 1/2 tsp salt; cook, stirring constantly, until fragrant, about 1 minute
  • Add ground beef and cook, breaking up with spoon and scraping the bottom of the pan to prevent scorching, until the beef is no longer pink, about 5 minutes.
  • Add the tomato sauce, broth, brown sugar and vinegar; bring to a simmer.
  • Reduce heat to med-low and simmer uncovered, stirring frequently and breaking the meat up so that no chunks remain, until the liquid has reduced and thickened (the mixture should not be completely dry), about 1o minutes.
  • Adjust the seasonings with salt and pepper to taste.


Thursday, October 1, 2009

Cranberry Jello Salad- a family fave


My Godmother, Deanna, made this recipe for years and its been a longstanding family tradition to have it at the Thanksgiving and Christmas tables. My kids love it and I've taken to making it throughout the year for picnics or as a fun side dish alongside pork or chicken. In fact, I'm so fond of making it that I always have the ingredients for this on hand for when I need a quick side dish- I keep them all together on the pantry shelf so that I know if I'm missing one of them or need to restock on whole cranberry sauce! Good tip.


I often leave out the walnuts when I bring it to a large group event as I'm fearful of nut allergies- so know that it tastes just as good without them as it does with them included.


Cranberry Jello Salad

1 large cherry jello (big package- or two small)
1 can Ocean Spray whole cranberry sauce
1 can crushed pineapple, drained, but not all the way
1 can mandarin oranges, drained
1/2- 1 cup walnut pieces

Boil 1/2 cup of water; Dissolve jello with water in large bowl.

Add the rest of the ingredients and mix well.

Let sit overnight in fridge.


As I was typing this up, I noticed I taped an alternate version of this recipe to the back of my recipe card. I'm thinking I cut it out of a magazine or the coupon section of the paper. I'll post that here as it does sound interesting and the kids might really enjoy it! Let me know if you try it.

Monday, September 21, 2009

Chicken Crescents and bonus dessert! ~9.23.09

I might be exaggerating to say that my life changed quite a bit when I discovered this recipe, but not by much. The entire Costain crew loves these Chicken Crescents and that makes for a very happy momma. They don't even pick out the "red things" anymore! I know that crescent rolls might not be the healthiest of foods, but they are, in fact, the coolest food invention in my book and I depend on them for quick meals/appetizers/desserts often.

The original recipe can be found in the Three Rivers Cookbook III (known in our family as the "blue one") on pg 111.

Ingredients:

  • 1 can crescent rolls
  • 3 oz cream cheese, softened
  • 2 Tbsp butter, melted
  • 2 cups chicken, cooked and cubed/shredded (whatever you want)
  • 1 Tbsp chopped pimento- I do not stress if I don't have this in the house, optional
  • 1/2 red pepper, diced and sauteed
  • 1/2 pound mushrooms, diced and sauteed
  • 3-4 green onions, chopped and sauteed
  • S & P
  • 2 Tbsp milk
  • 1/2 Tbsp chopped parsley

After I preheat the oven to 350 degrees, I start by putting the cream cheese and butter in a bowl and popping them in the microwave a few secs to soften. I mush them together with a fork with the chopped parsley.

Then I saute up the peppers, green onions and mushrooms. I season them with Salt and Pepper, to taste, at this junction, too. The amounts for this vary in my house depending on what I have. The original recipe calls for green pepper (only 1 Tbsp sauteed) and only 2 Tbsp chopped sauteed mushrooms. I use A LOT more than that, prefer red peppers and these are still stellar and filling! Don't they look delish all sauteed up...


And the star of this dinner... most versatile food invention evah... CRESCENT ROLLS! AND I'm not brand specific either. I prefer pillsbury, but I've bought store brand, "wally world" brand and others. Whatever floats your pocketbook's boat, in my opinion. If you are using these, don't forget to snip off the box tops and send them to a school you love!
You'll need to keep these in rectangles. So open the package and put them on a greased or silpat lined baking sheet. Smoosh the perforated edges together to form 4 rectangles.
Now, let's get the filling ready to go...

So, after you sautee the veggies, let them cool for a few in the pan or in a bowl. Then if you need to cut up your chicken, do that now. I almost always use leftover rotisserie chicken for this. However I have poached chicken to use specifically for this recipe and if I do this, I do double and freeze the other half for a day when I need cooked chicken in a recipe. (do you know how to poach chicken? I'll teach you if you'd like... Sarah Moulton taught me, she used to be on Food Network, I've learned a lot from that channel).

Okay, chicken's ready, put it in the bowl with the cream cheese, butter and parsley.
Add your sauteed veggies and the 2 Tbsp of milk. The milk helps it all to go together nice and smooth. It should be creamy looking- you're ready to fill those crescents.
Spoon about a 1/2 cup of the mixture on each crescent (if you have more, save it or open up another can of crescents- I can tell you what to do with "leftover crescents" later).
If only I took pics of this next part- you bring the four corners of the crescent roll together in the middle and twist... can you envision that? I hope so. It will look like a little purse, of sorts.

Bake at 350 for 20-30 minutes. You'll want them to look like this... all golden and delicious!

BONUS DESSERT:
If for some reason you have leftover crescent rolls b/c you have more than enough filling... consider yourself lucky!


Grab some chocolate chips or cinnamon chips or butterscotch chips or nutella-- something sweet that melts. And put a little bit in the large end of a crescent triangle. You want to roll it up in a crescent roll shape and make sure that the chips are hidden inside... they may oooze out while baking. Bake for about 9-13 minutes and you'll have chocolate crescents (or whatever flavor you put inside there). Nutella rocks, by the way.

Serve with rice and a salad! Buon Apetito!


Monday, September 14, 2009

Wild Rice Salad with Cranberries ~ 9.14.09


Wild Rice Salad with Cranberries
from The Three Rivers Renaissance Cookbook IV, Rania Harris
serves 8-10

I've made a few changes to this recipe over the past several times I've made it as I often have a bit of a hard time finding wild rice that doesn't come in a box with a flavoring packet. Trader Joe's to the rescue. I've used their version of wild rice and also added a brown mixed rice to it as well. No other changes were made to the recipe except that I used 2 cups of uncooked rice (cooked separately as their cook times were different). If you're doubling this, know that you can double the rice (as I stated above) and the other ingredients and you will still have plenty of dressing. Lastly, I only used olive oil, but you can certainly stick to the recipe and use 1/2 oo and 1/2 canola.

Cooked wild rice- begin with 1 cup and follow package instructions for cooking
1/2 cup diced celery
1/2 cup diced red pepper
1/2 cup diced yellow pepper
1/2 cup toasted chopped pecans (toast first, then chop)
3/4 cup dried cranberries (I've also used this lovely little mix from Trader Joe's of cranberries, cherries and pomegranate seeds, mmmm)

Dressing:
6 Tbsp balsamic vinegar
1/2 tsp salt
2 Tbsp brown sugar
1 tsp dijon mustard
1/2 cup vegetable or canola oil
1/2 cup olive oil
salt and pepper


Cook rice and drain any excess water and cool.

Combine rice with celery, peppers, pecans and cranberries.

Combine dressing ingredients in a lidded jar and shake shake shake!

Dress the salad with enough dressing to coat and flavor well. Refrigerate and taste before serving. (I often add the rest of the dressing after letting the salad sit in the fridge overnight- add salt and pepper to taste, too)

Saturday, July 11, 2009

Cool, crisp Cucumber salad ~ 7.11.09


My entire family of 6 loves this salad (THANK YOU, GOD) and I can't say that about many recipes or foods!
So I make it all summer and whenever I find some nice looking cucumbers. These were English Cucumbers [English cucumbers can grow as long as 2 feet (0.61 m). They are nearly seedless, have a delicate skin which is pleasant to eat, and are sometimes marketed as “Burpless”, because the seeds and skin of other varieties of cucumbers can give some people gas - via wikipedia]- which explains why they're roundish and still have the skin on them. If they weren't I'd have had to peel, cut the cuc in half and scrape out the seeds with a spoon.

Now you're ready for this super-duper easy and delish recipe:

1-2 English cucumbers- if not English ones, do what I described above
1 Tbs kosher salt
1 tsp sugar
4-5 Tbs white wine vinegar
fresh or dry dillweed (if using dry, I just shake it on until the cucs are evenly coated)

Slice your cucumbers very thin. Toss with salt and sugar and dillweed. Add vinegar. Put in fridge and let the flavors marry together. Eat 'em up!

I believe I first got this recipe years ago from Martha. This is the closest link I could find to the recipe, online.

Friday, June 26, 2009

Oats 'n Honey Granola Pie ~ 6.26.09


Remember I told you I love to collect recipes?


Here's one from the Post-Gazette... in 2004! I believe it won some sort of Pillsbury Pie Crust contest as that is the type of pie crust listed in the ingredients. You could use the refrigerated version or make your own.


I've made this about half a dozen times already and absolutely love it! It's really quick to put together, too. This sweet little pie is similiar to a pecan pie (a lot of the same ingredients). The main difference being that you use crushed up Nature Valley Granola Bars. I know they have a granola cereal out now, so I bet you could use that instead.... I'd rather take out a little aggression and whack at them with a spoon. Feels really good! As I was typing this up, I realized that I've been reading the recipe wrong! I make it with 8 granola bars- 4 pkgs!!!! Ummm, it still works and still tastes really good, so there.


Oats 'n Honey Granola Pie


1 pie crust


Filling:

1/2 cup butter or margarine
1/2 cup packed brown sugar
3/4 cup corn syrup
1/8 tsp salt
1 tsp vanilla
3 eggs, lightly beaten
4 Nature Valley Oats 'n Honey Cruncy Granola Bars (2 pouches from 8.9 oz box), crushed
1/2 cup chopped walnuts
1/4 cup quick-cooking or old-fashioned oats
1/4 cup chocolate chips

Heat oven to 350 degrees. Place pie crust in 9 inch glass pie pan (I've used a 10 inch and aluminum pan and it's been fine).

In lg microwavable bowl, melt butter on high for 50-60 seconds or until melted. Stir in brown sugar and corn syrup until blended. Beat in salt, vanilla, and eggs. Stir in crushed granola bars adn all remaining ingredients into brown sugar mixture, except whipped cream. Pour into pie crust.

Bake at 350 degrees for 40-50 minutes or until filling is set and crust is golden brown, covering crust edge with foil during last 15-20 minutes to prevent excessive browning. Cool at least 30 minutes before serving. Serve warm, room temp. or chilled. Serve with whipped cream or ice c ream. Store in refrigerator.

NOTE: to easily crush granola bars, do not unwrap. Used handle of a spoon or rolling pin to whack 'em to smithereens!